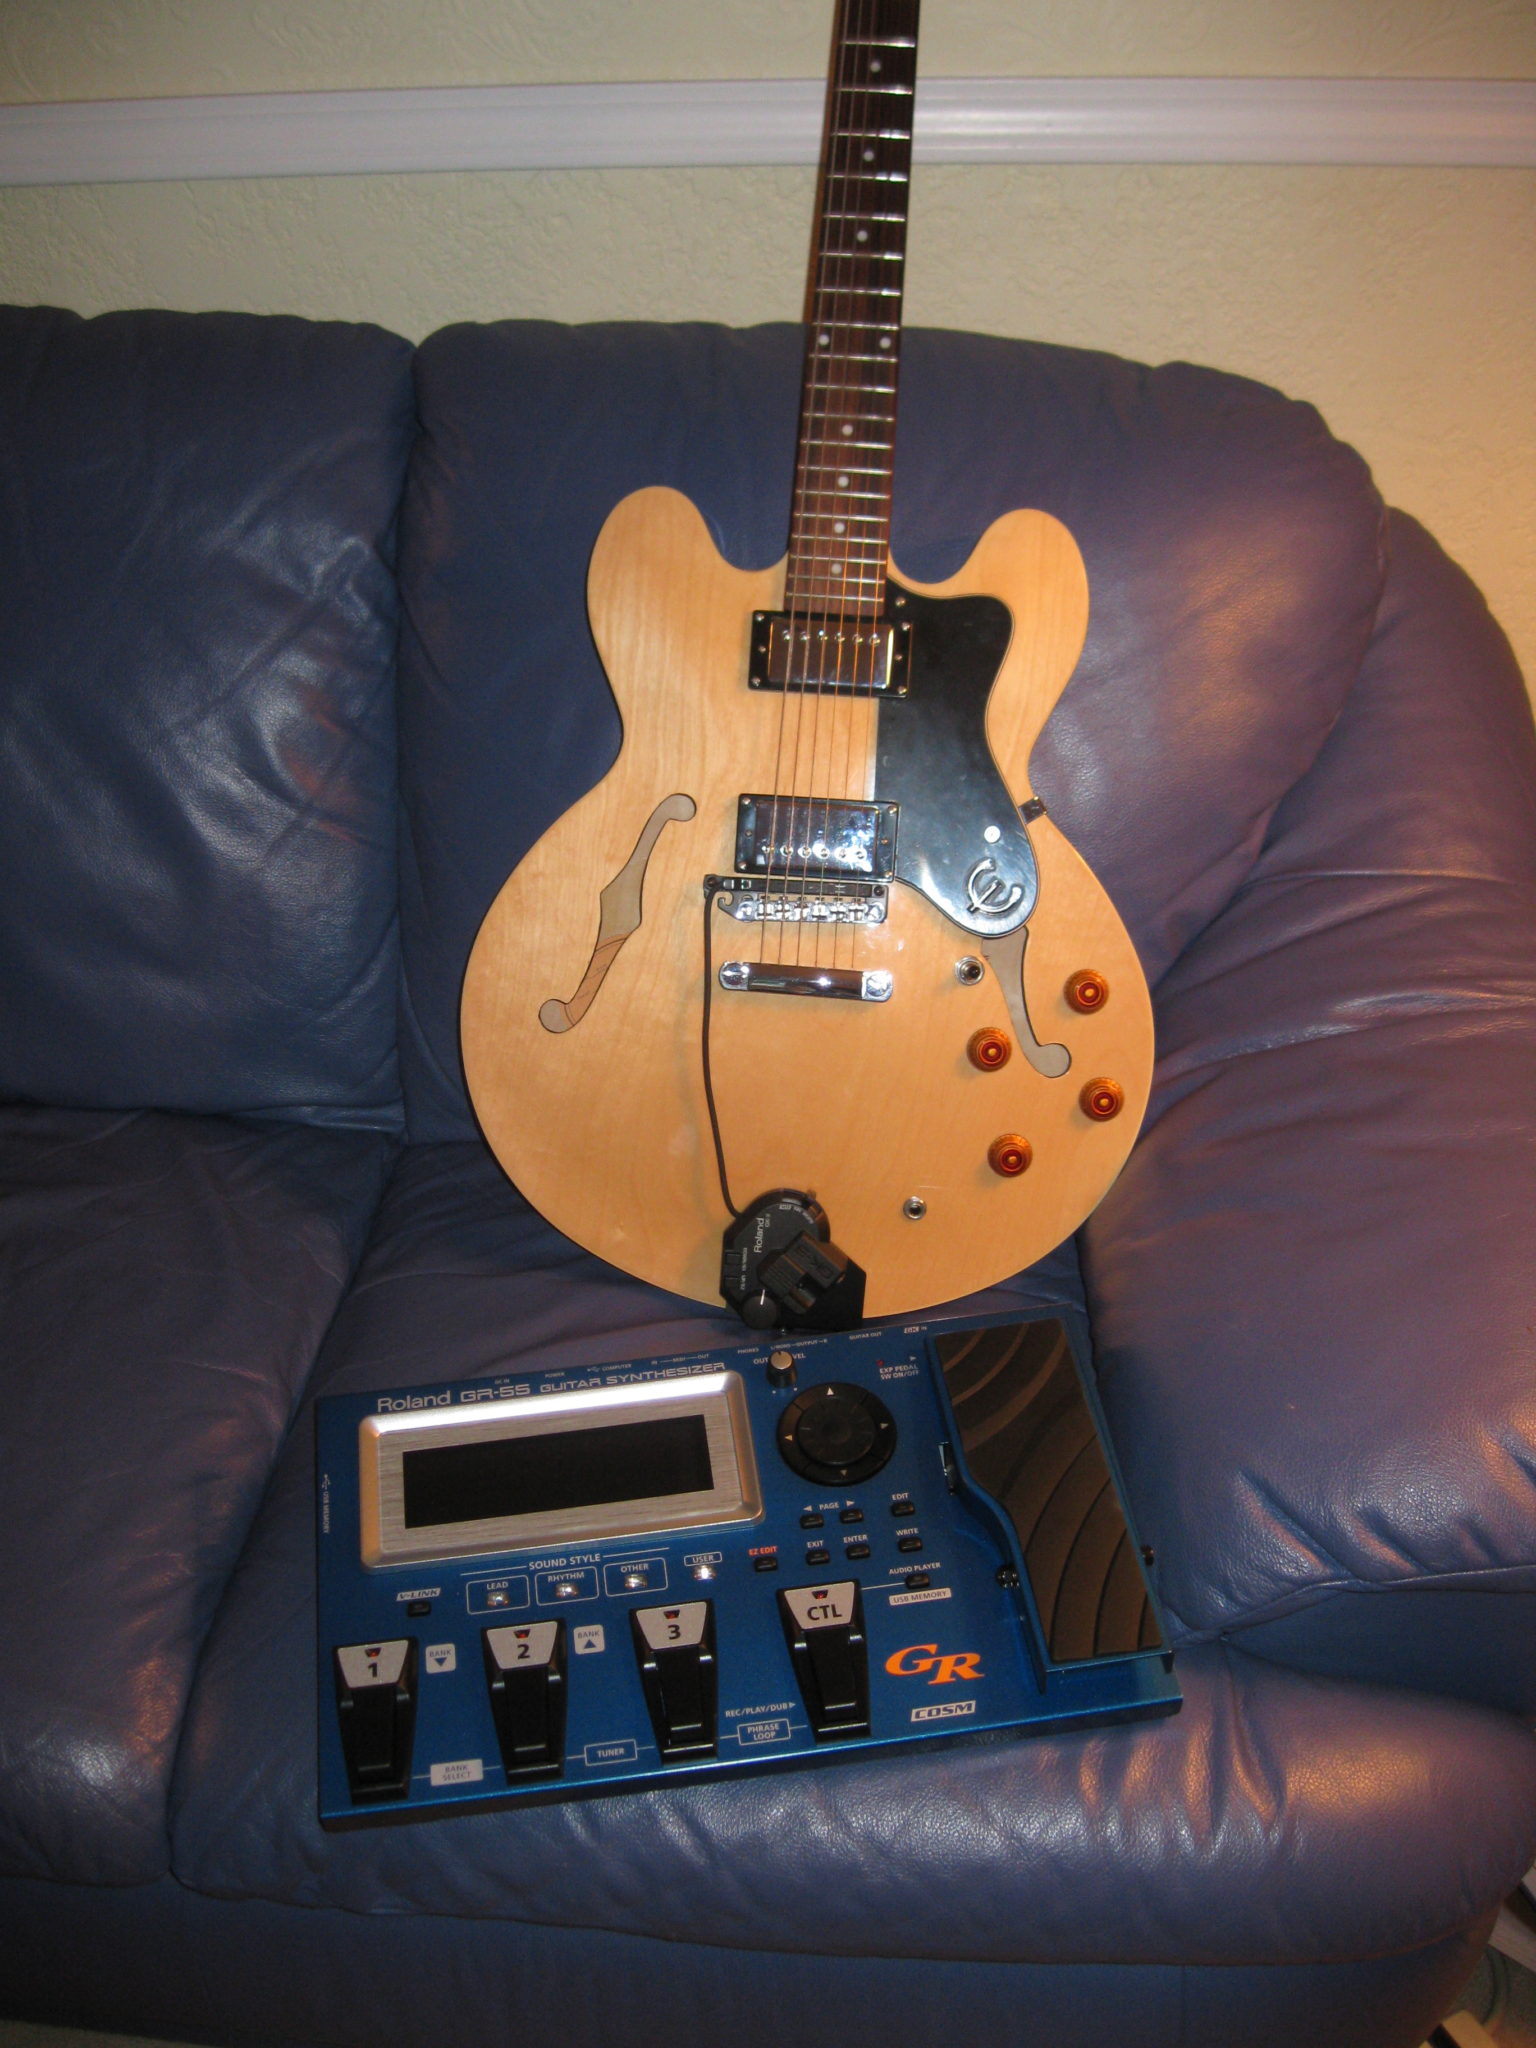
Epiphone Dot guitar with Roland GK-3 pickup and GR-55 guitar synthesizer
This post is to summarize how to install the Roland GK-3 Divided Pickup on a semi-hollowbody guitar, like my Epiphone Dot.
About the Roland GK-3 Divided Pickup
The Roland GK-3 Divided Pickup is what you need to play guitar through a Roland guitar synth, such as the awesome new GR-55 (which I just purchased) or the GR-20. The GK-3 is easier to install than you would think from first glance at the owner’s manual.
The GK-3 includes an adjustable curve design to keep an even distance between the strings for better response. The clever attachment plate lets the GK mount right to the bridge screws of Les Paul style guitars. The guitar connection is 1/4 in. to 1/4 in., and the pick up wire retracts for a neat installation.
The Roland GK-3 Divided Pickup is for sending individual signals from each guitar string to GK compatible devices. It is carefully designed for guitar performance by having a large GK knob, and a Select Switch to change from synth, to normal guitar tone, or both of them mixed.
Following these instructions, if you play a Les Paul-type or Gibson semi-hollowbody type guitar you can safely install the Roland GK-3 Divided Pickup without any drilling by using an included special attachment plate.
Roland GK-3 Divided Pickup Specifications
Controls
- GK Volume
- DOWN/S1 Switch
- UP/S2 Switch
- Select Switch
Indicator
- Power Indicator
Connectors
- GK Connector
- Normal Pickup Input Jack

Roland GK-3 divided pickup installation
Here is my photo journal of my process of attaching the Roland GK-3 divided pickup (which came with my AWESOME, new GR-55 Guitar Synthesizer, of which I will write about later) to my Epiphone Dot semi-hollowbody guitar. This is the process described in the owner’s manual under “Attaching the Pickup with the Pickup Holder” and it should work for other guitars with the bridge mounted on posts embedded in the guitar body, such as a Les Paul. This method won’t work for a Strat.
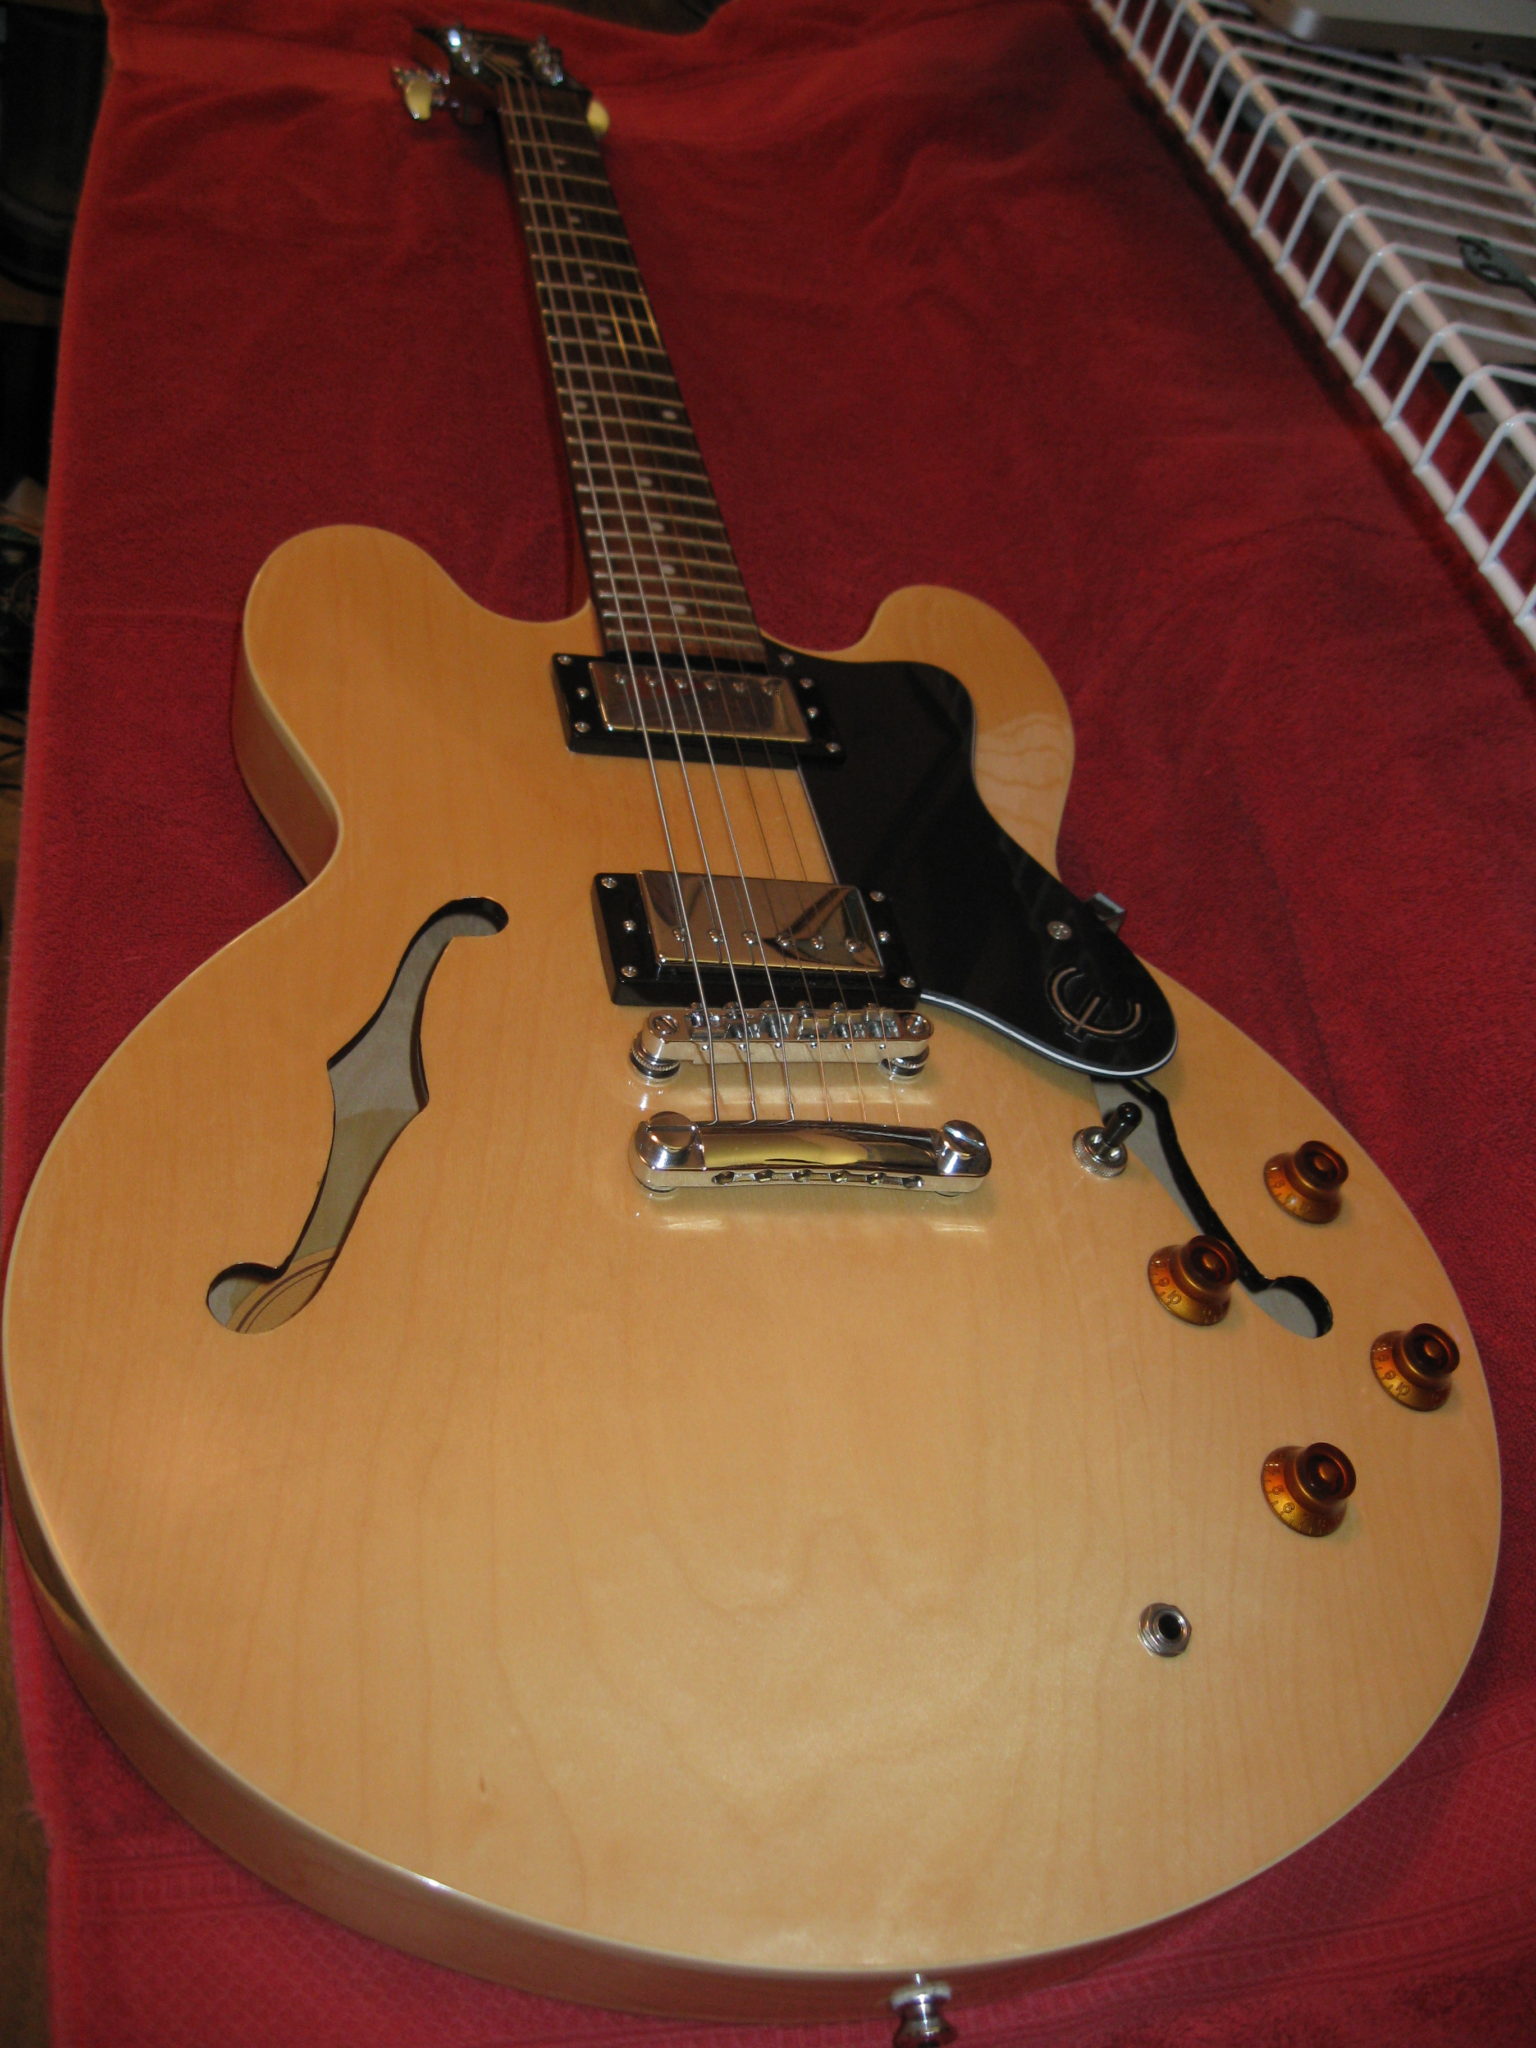
Step 1: Make sure you have a clean, cushioned place to work on your guitar. It would be a shame to scratch up your baby. By the way, make note of the original bridge height so action can be adjusted to compensate for the metal bracket.
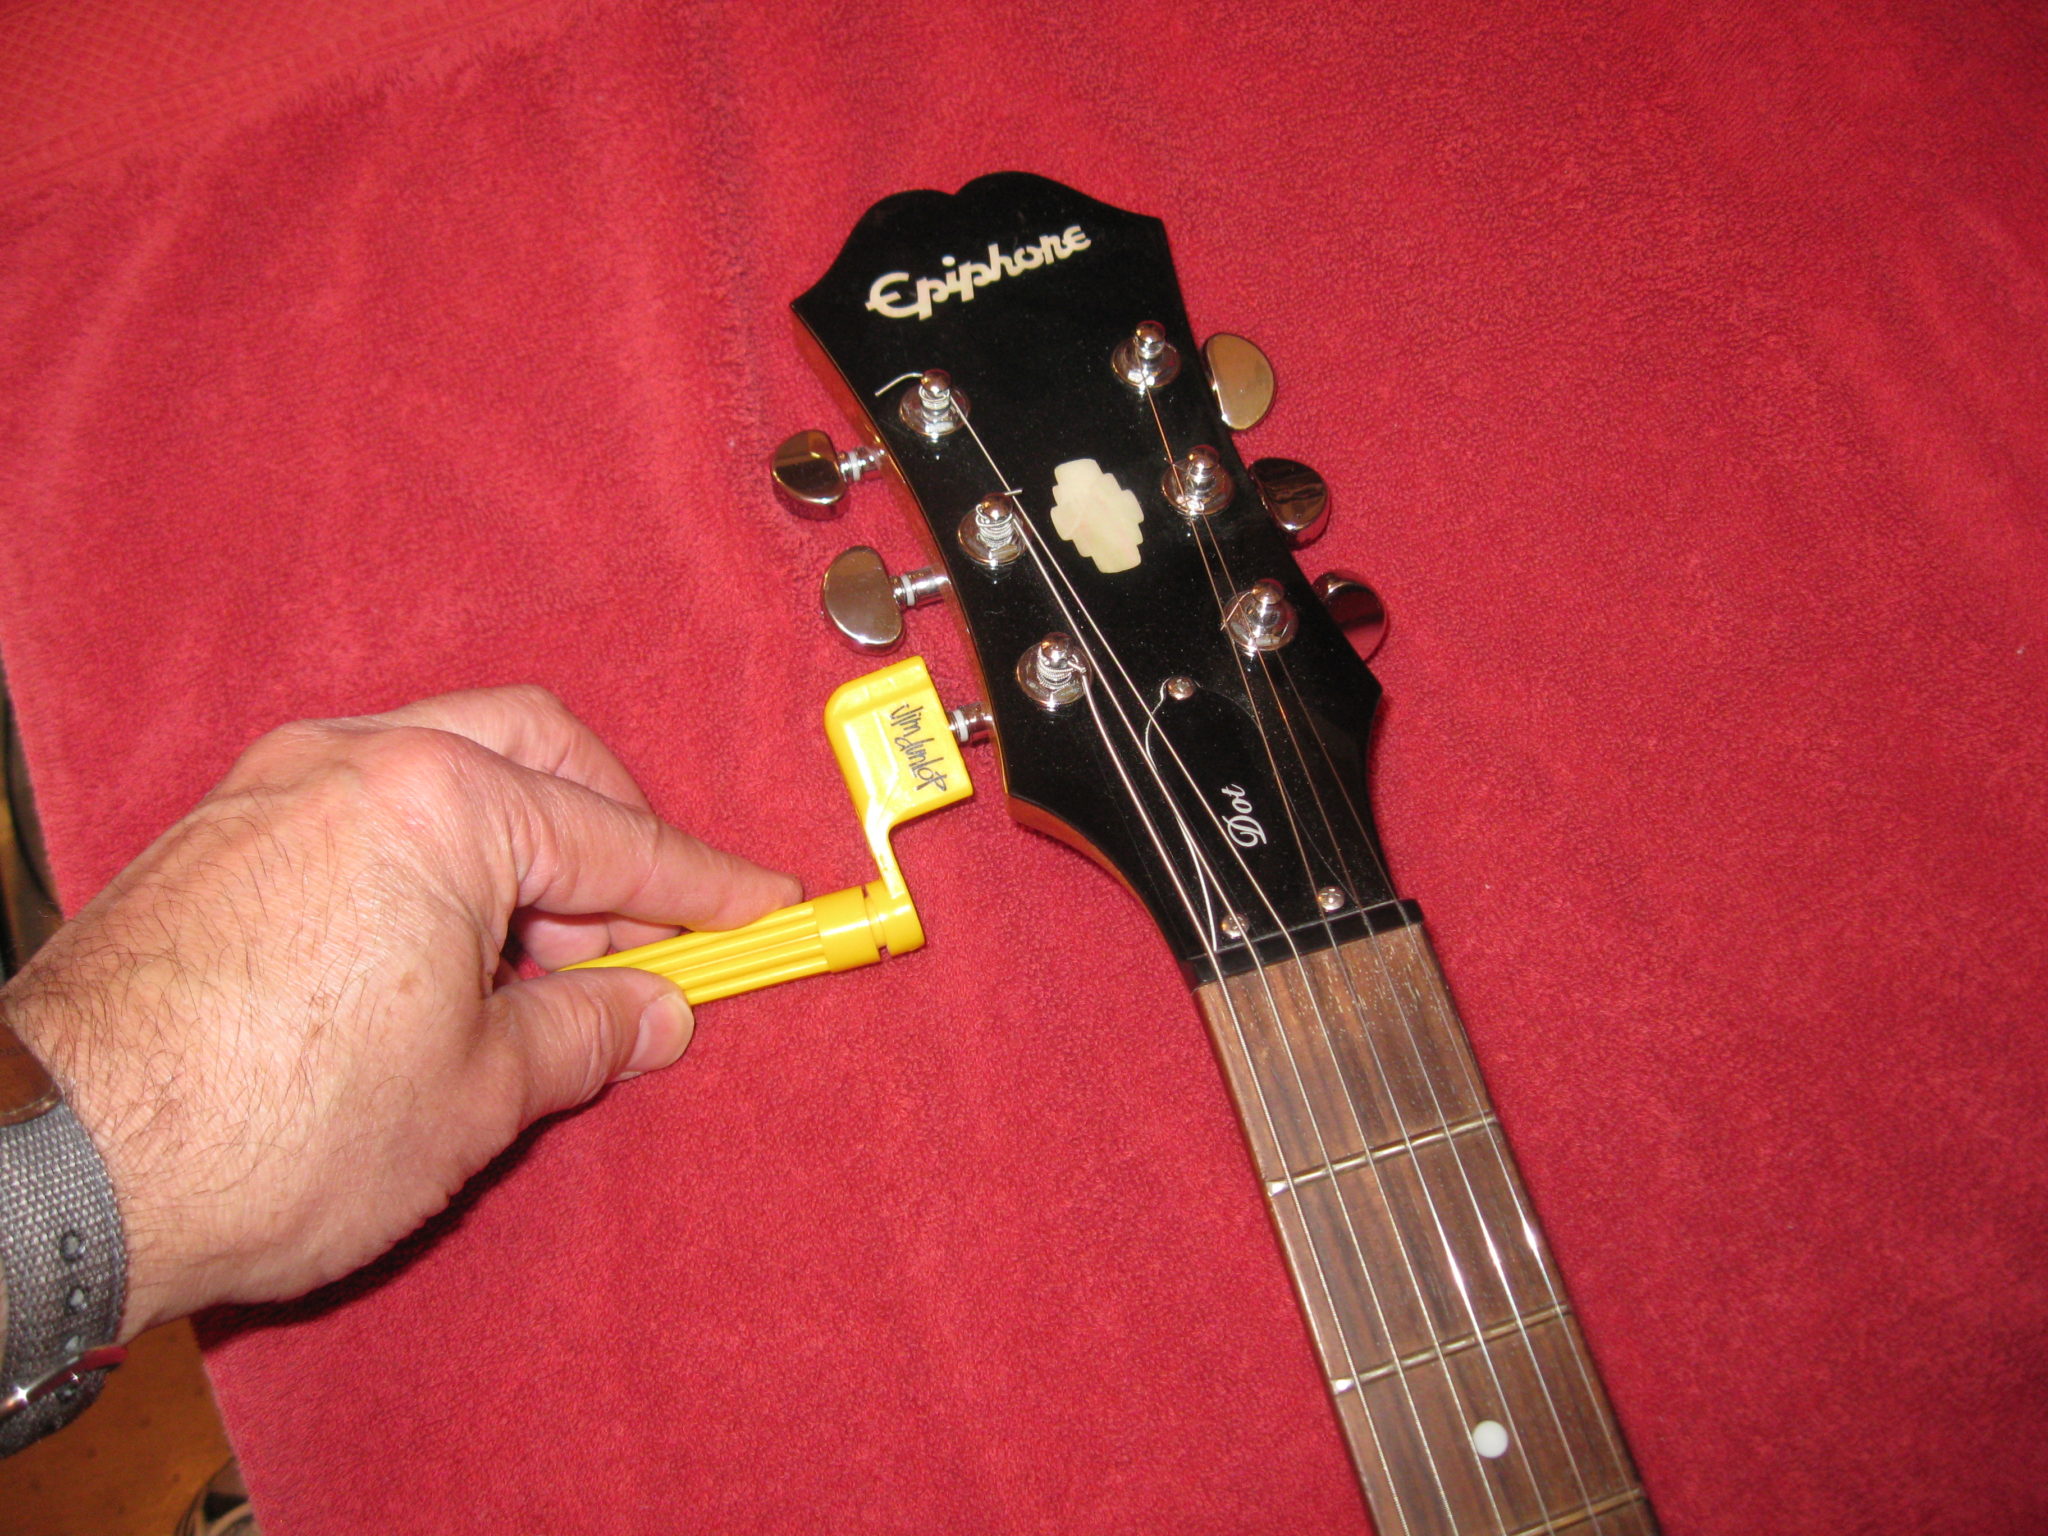
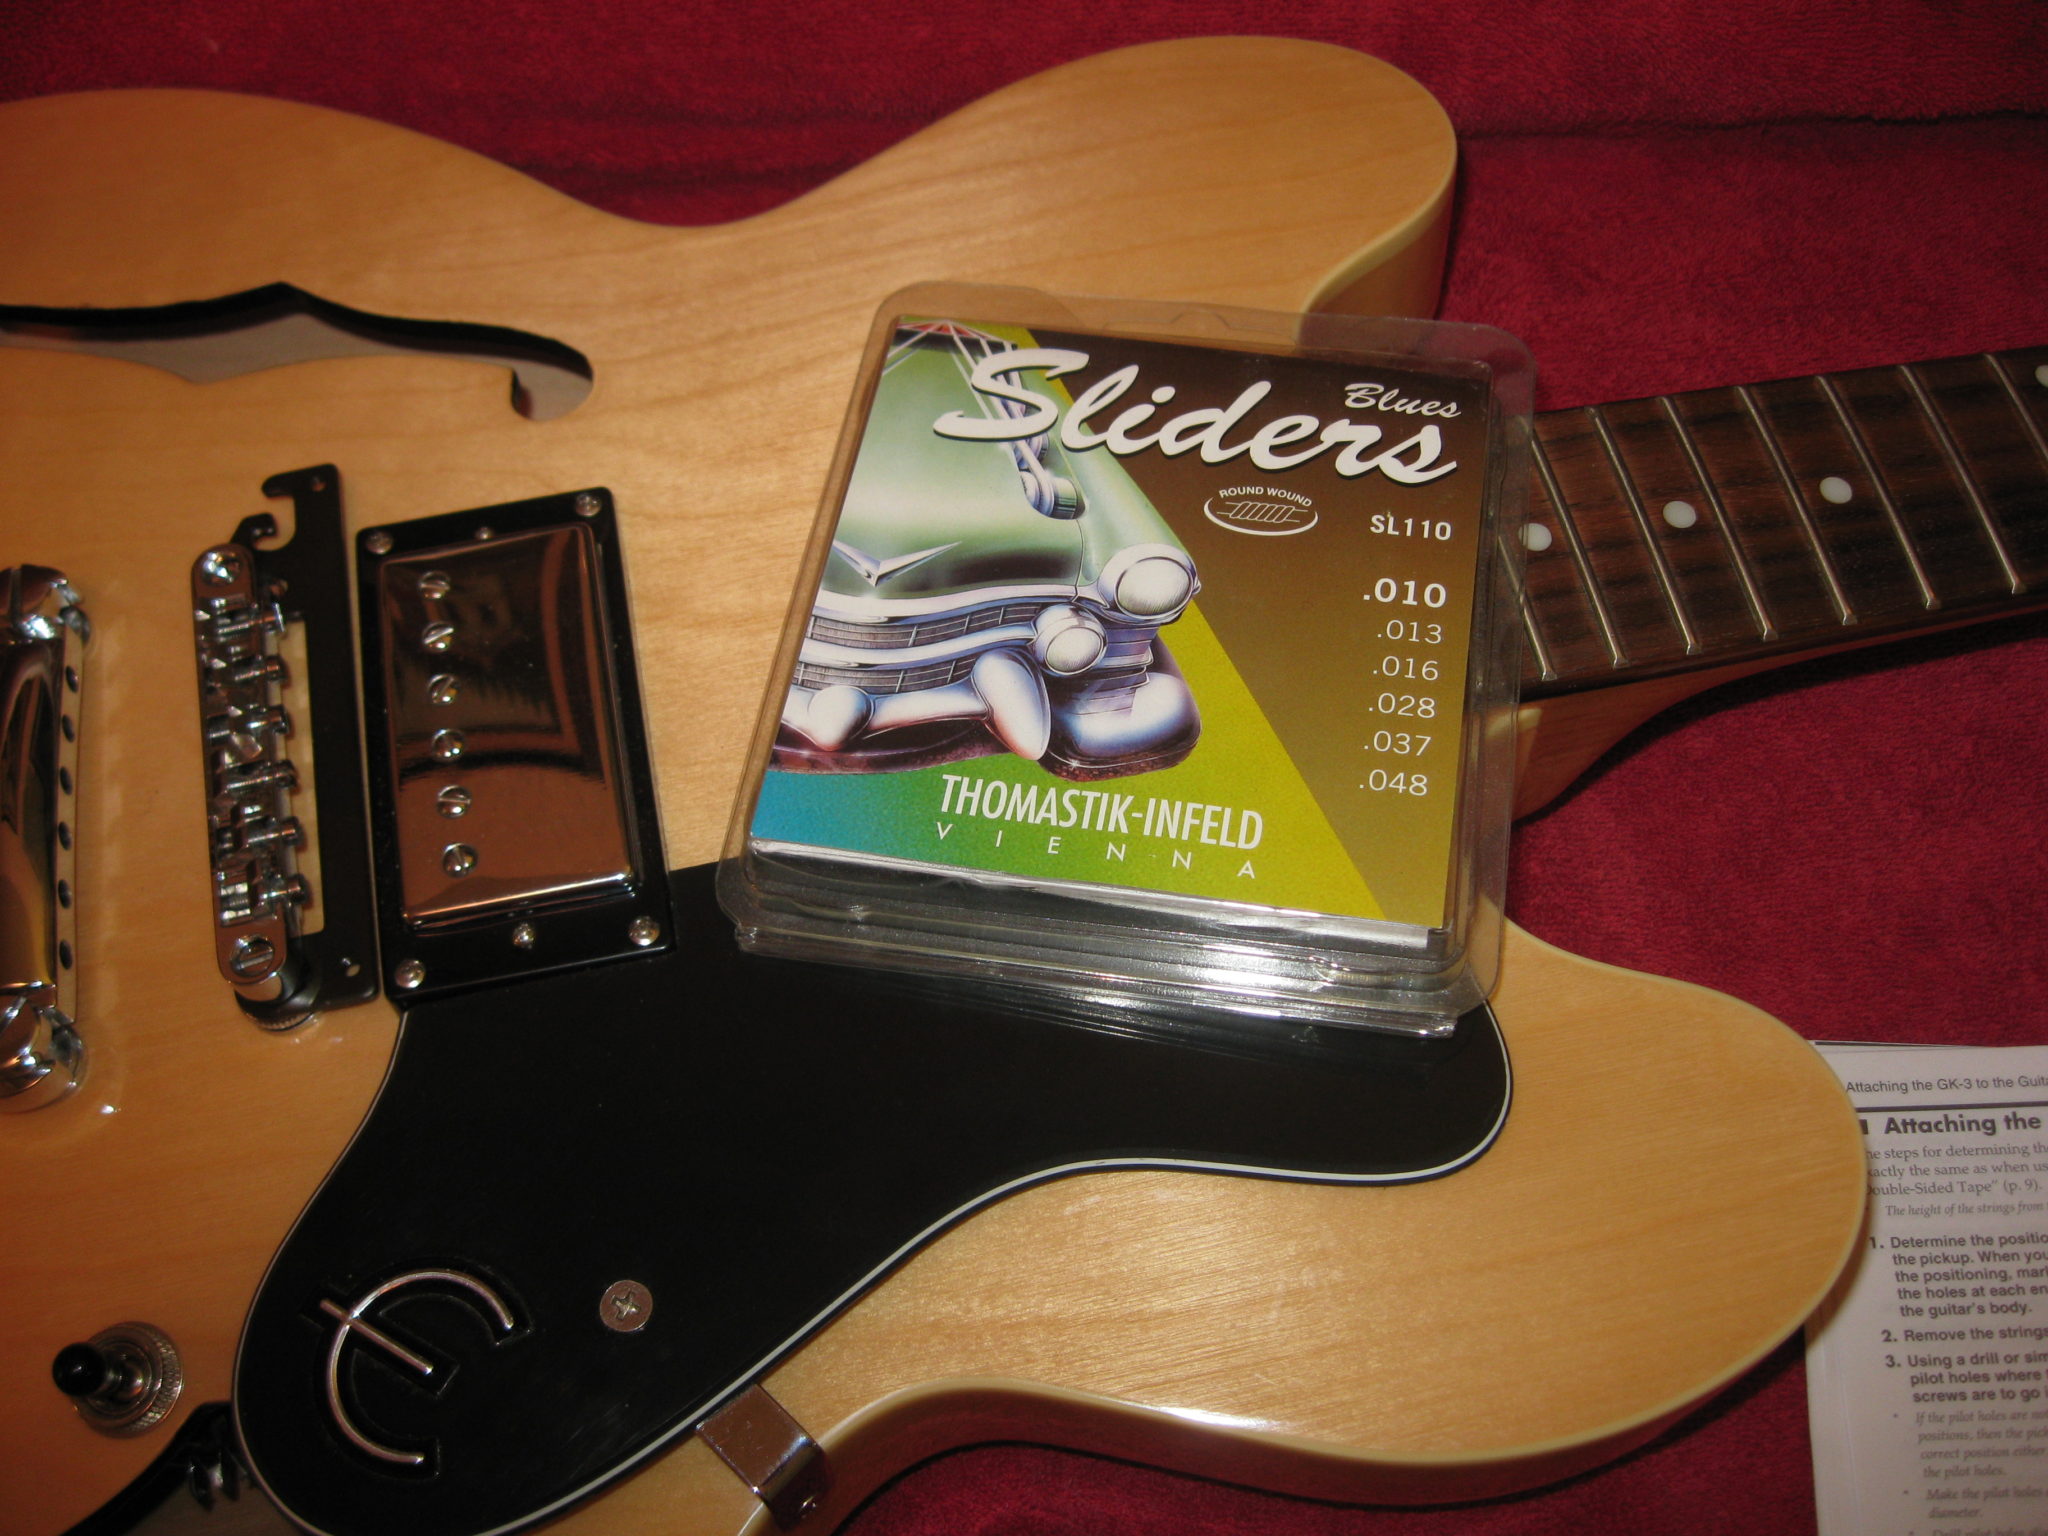
Step 2: Take the strings off.
Step 3: Remove the bridge and lower the two bridge height adjustment screws of the guitar approximately 2 mm (0.08”).
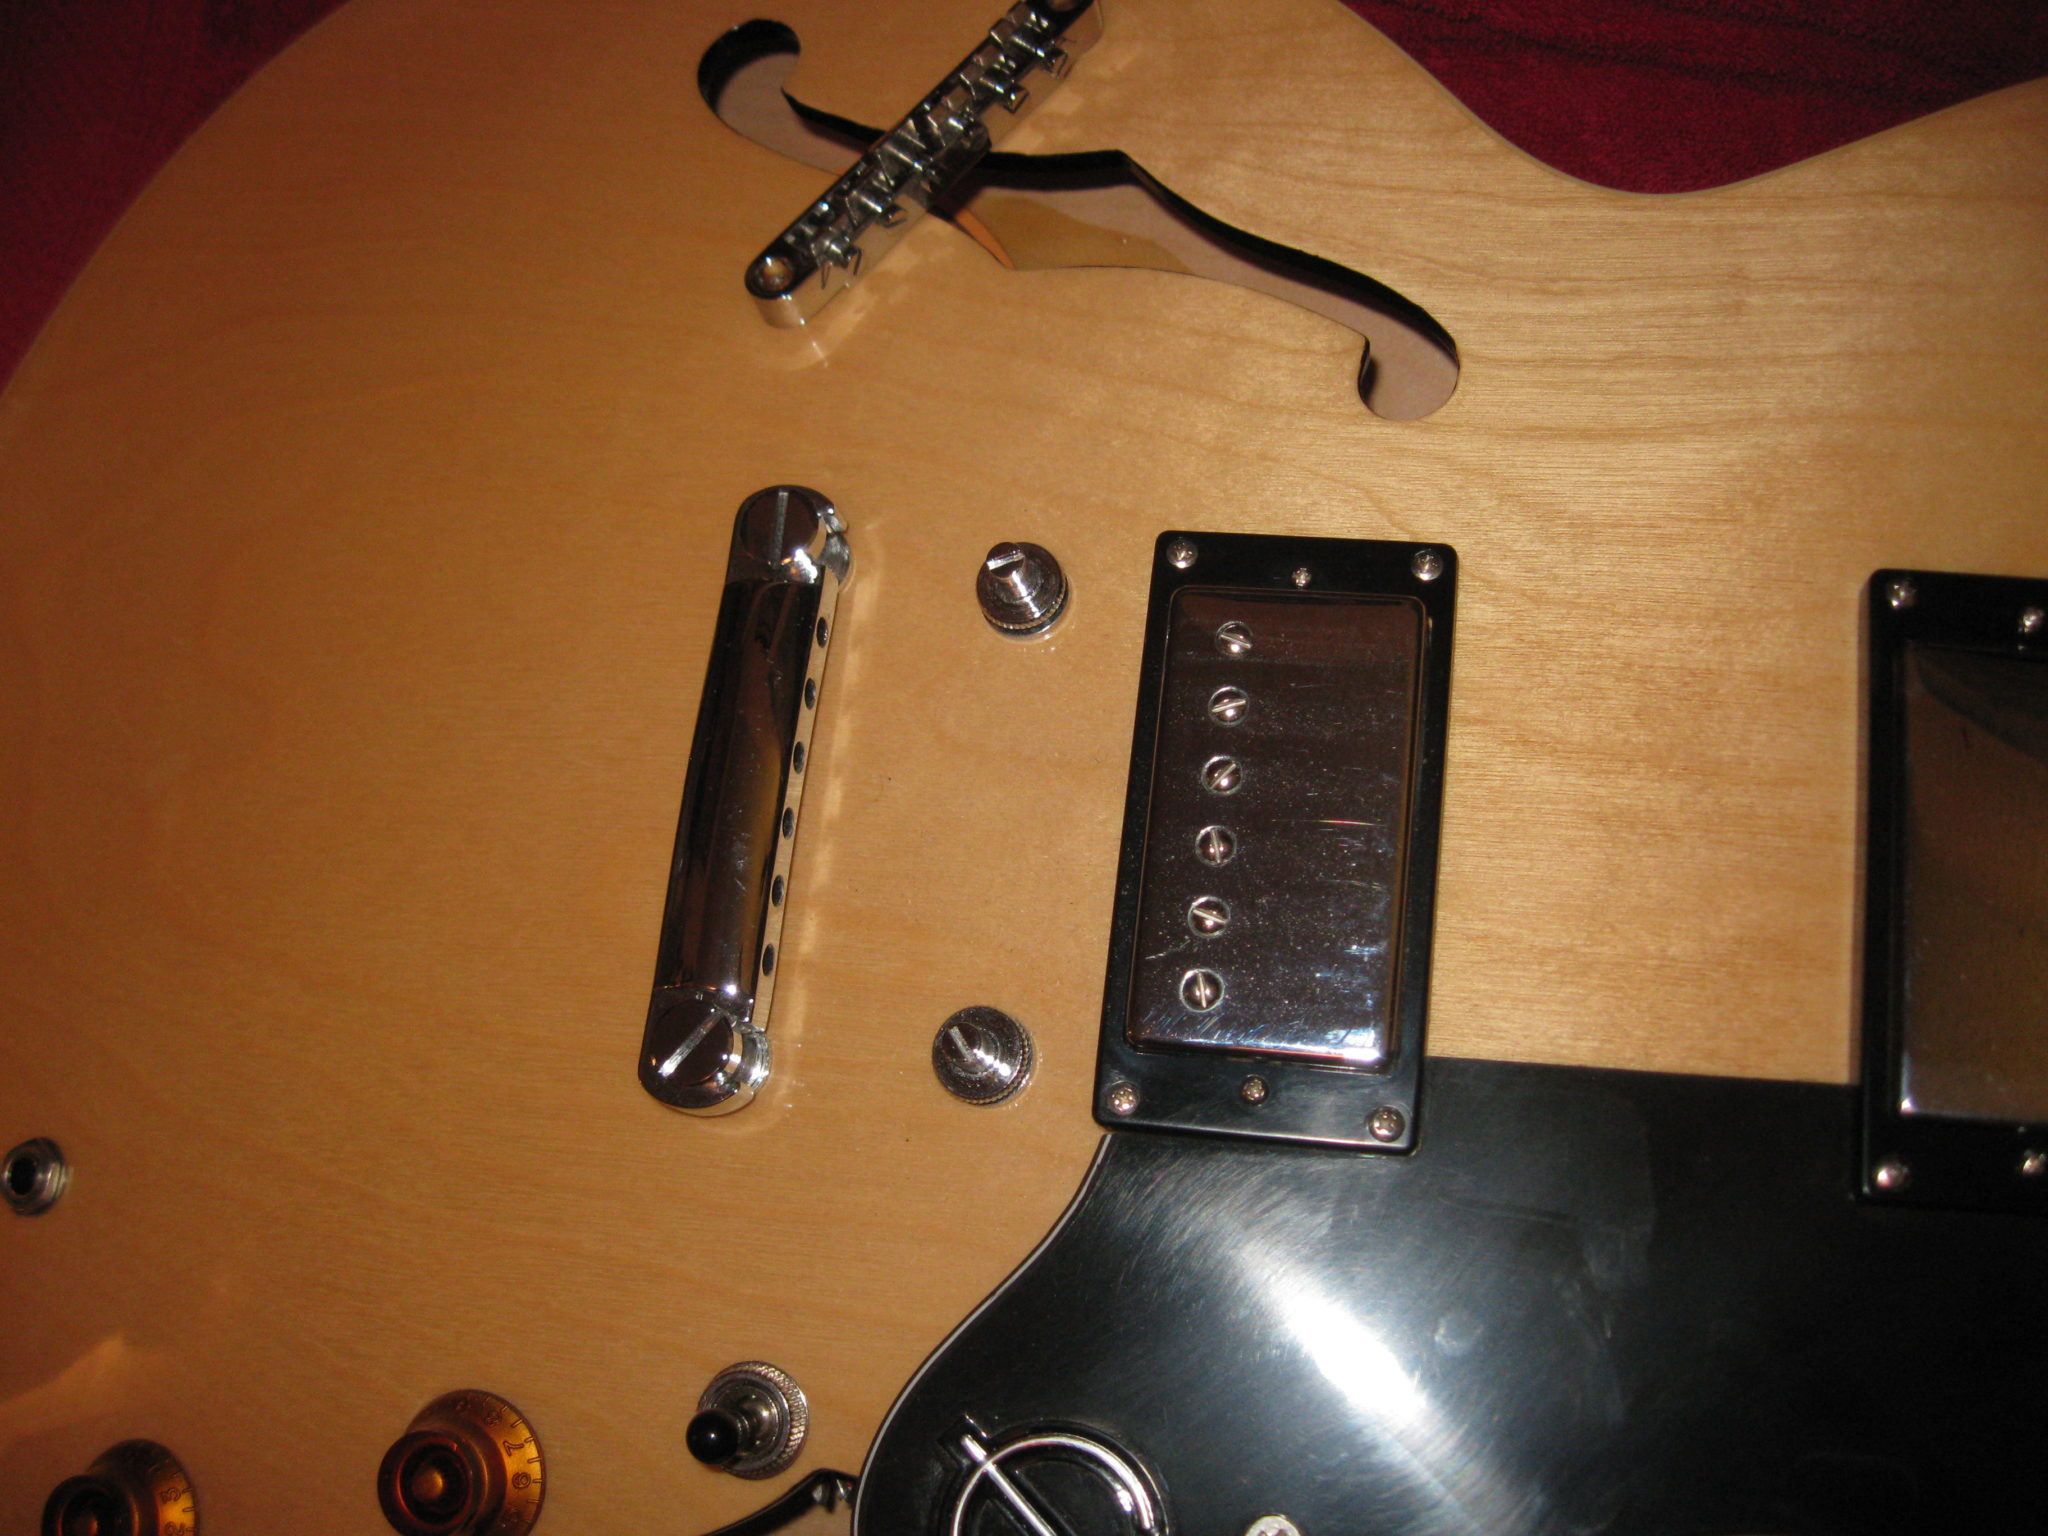
Step 4: Place the holder on the posts, then cover it with the bridge.

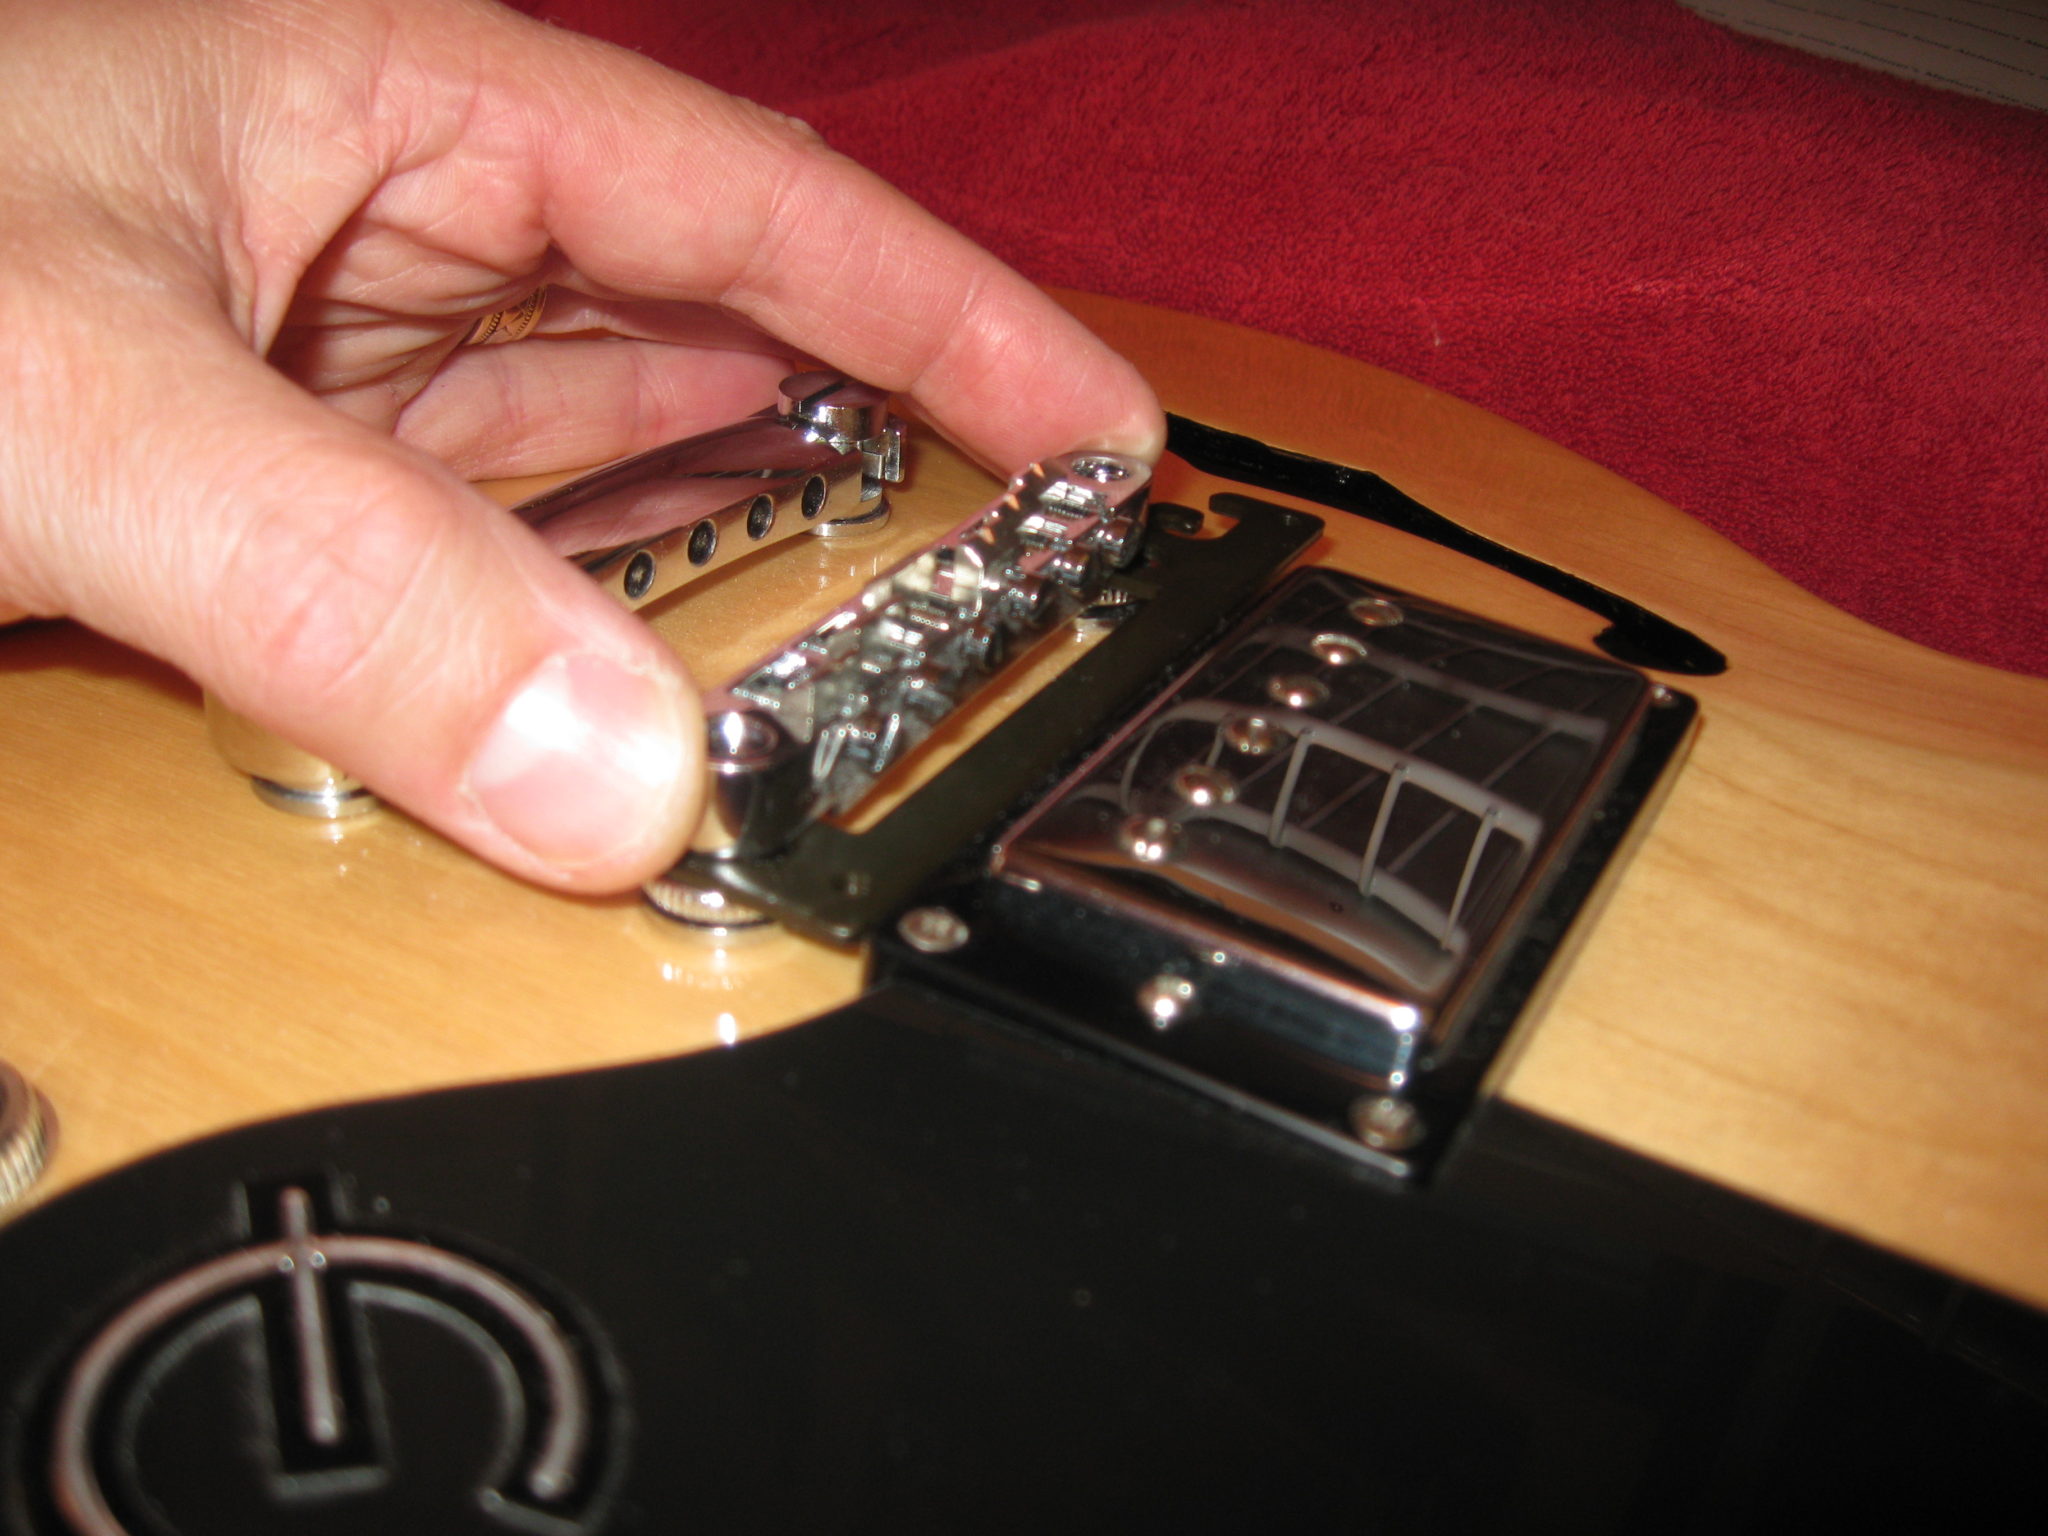
Step 5: Restring the guitar and check the string action and intonation. Note: The GK-3 manual instructs you to attach the pickup to the bracket as the first step, but I chose to wait until I had completed getting the string action and intonation set correctly to allow easier access to the adjuster screws on the bridge and to reduce the risk of accidentally damaging the GK-3.

Be sure to wrap the string under itself and bend it against itself to prevent slippage.
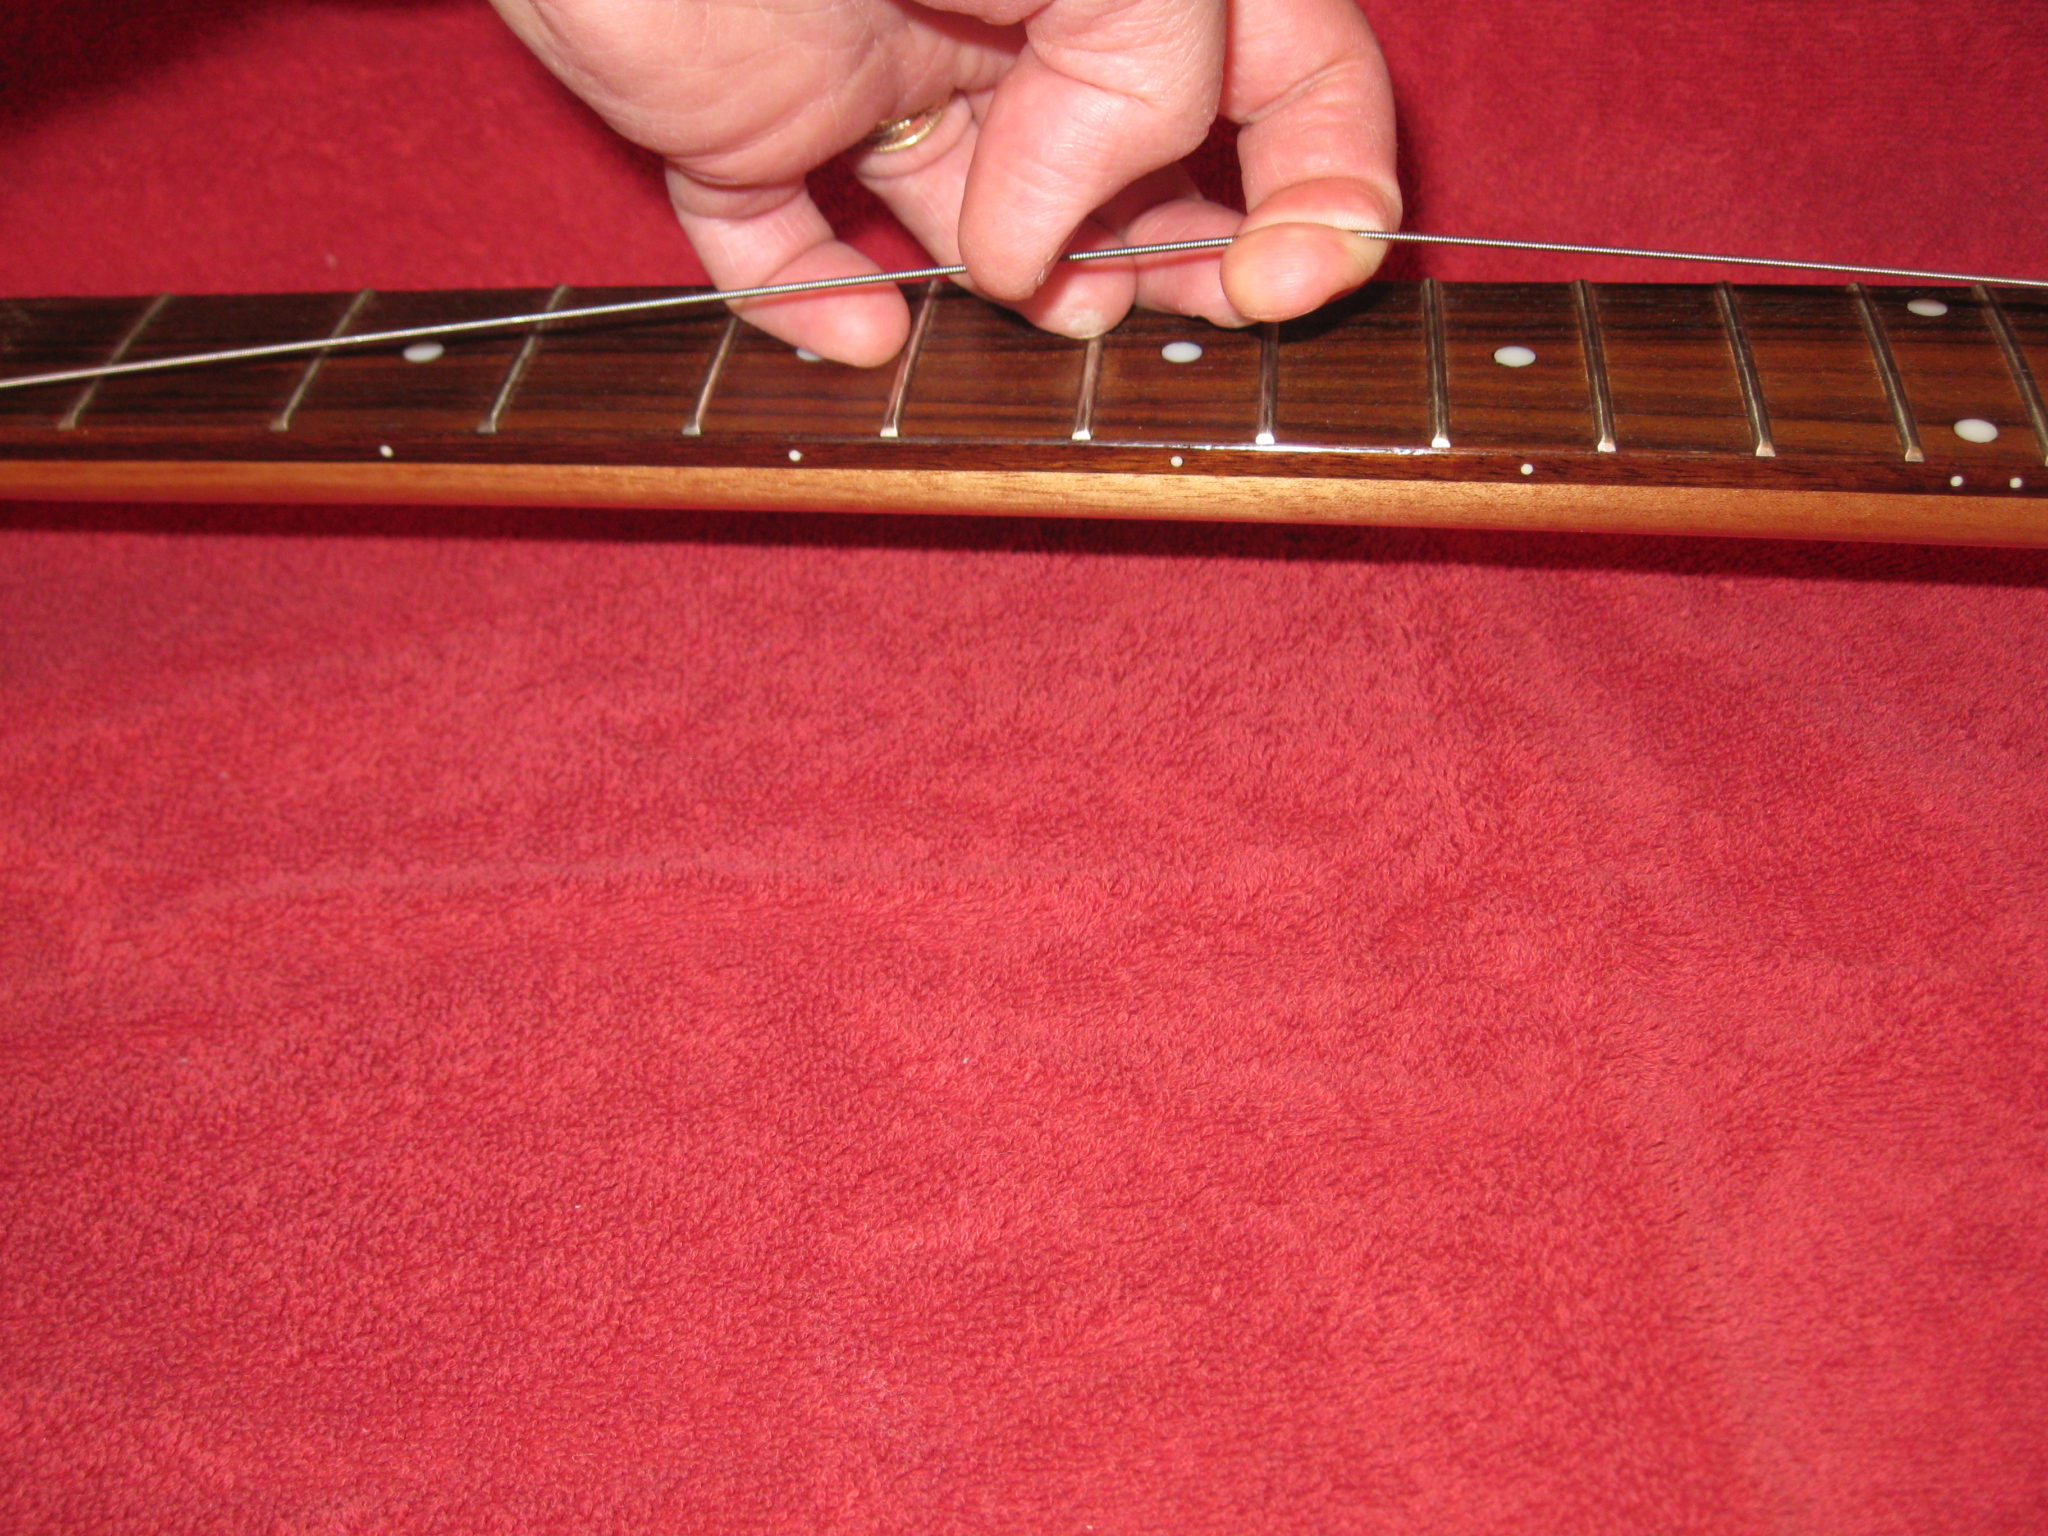
After tightening each string *gently* tug upward about an inch for a few seconds. This will help minimize string detuning after installation.
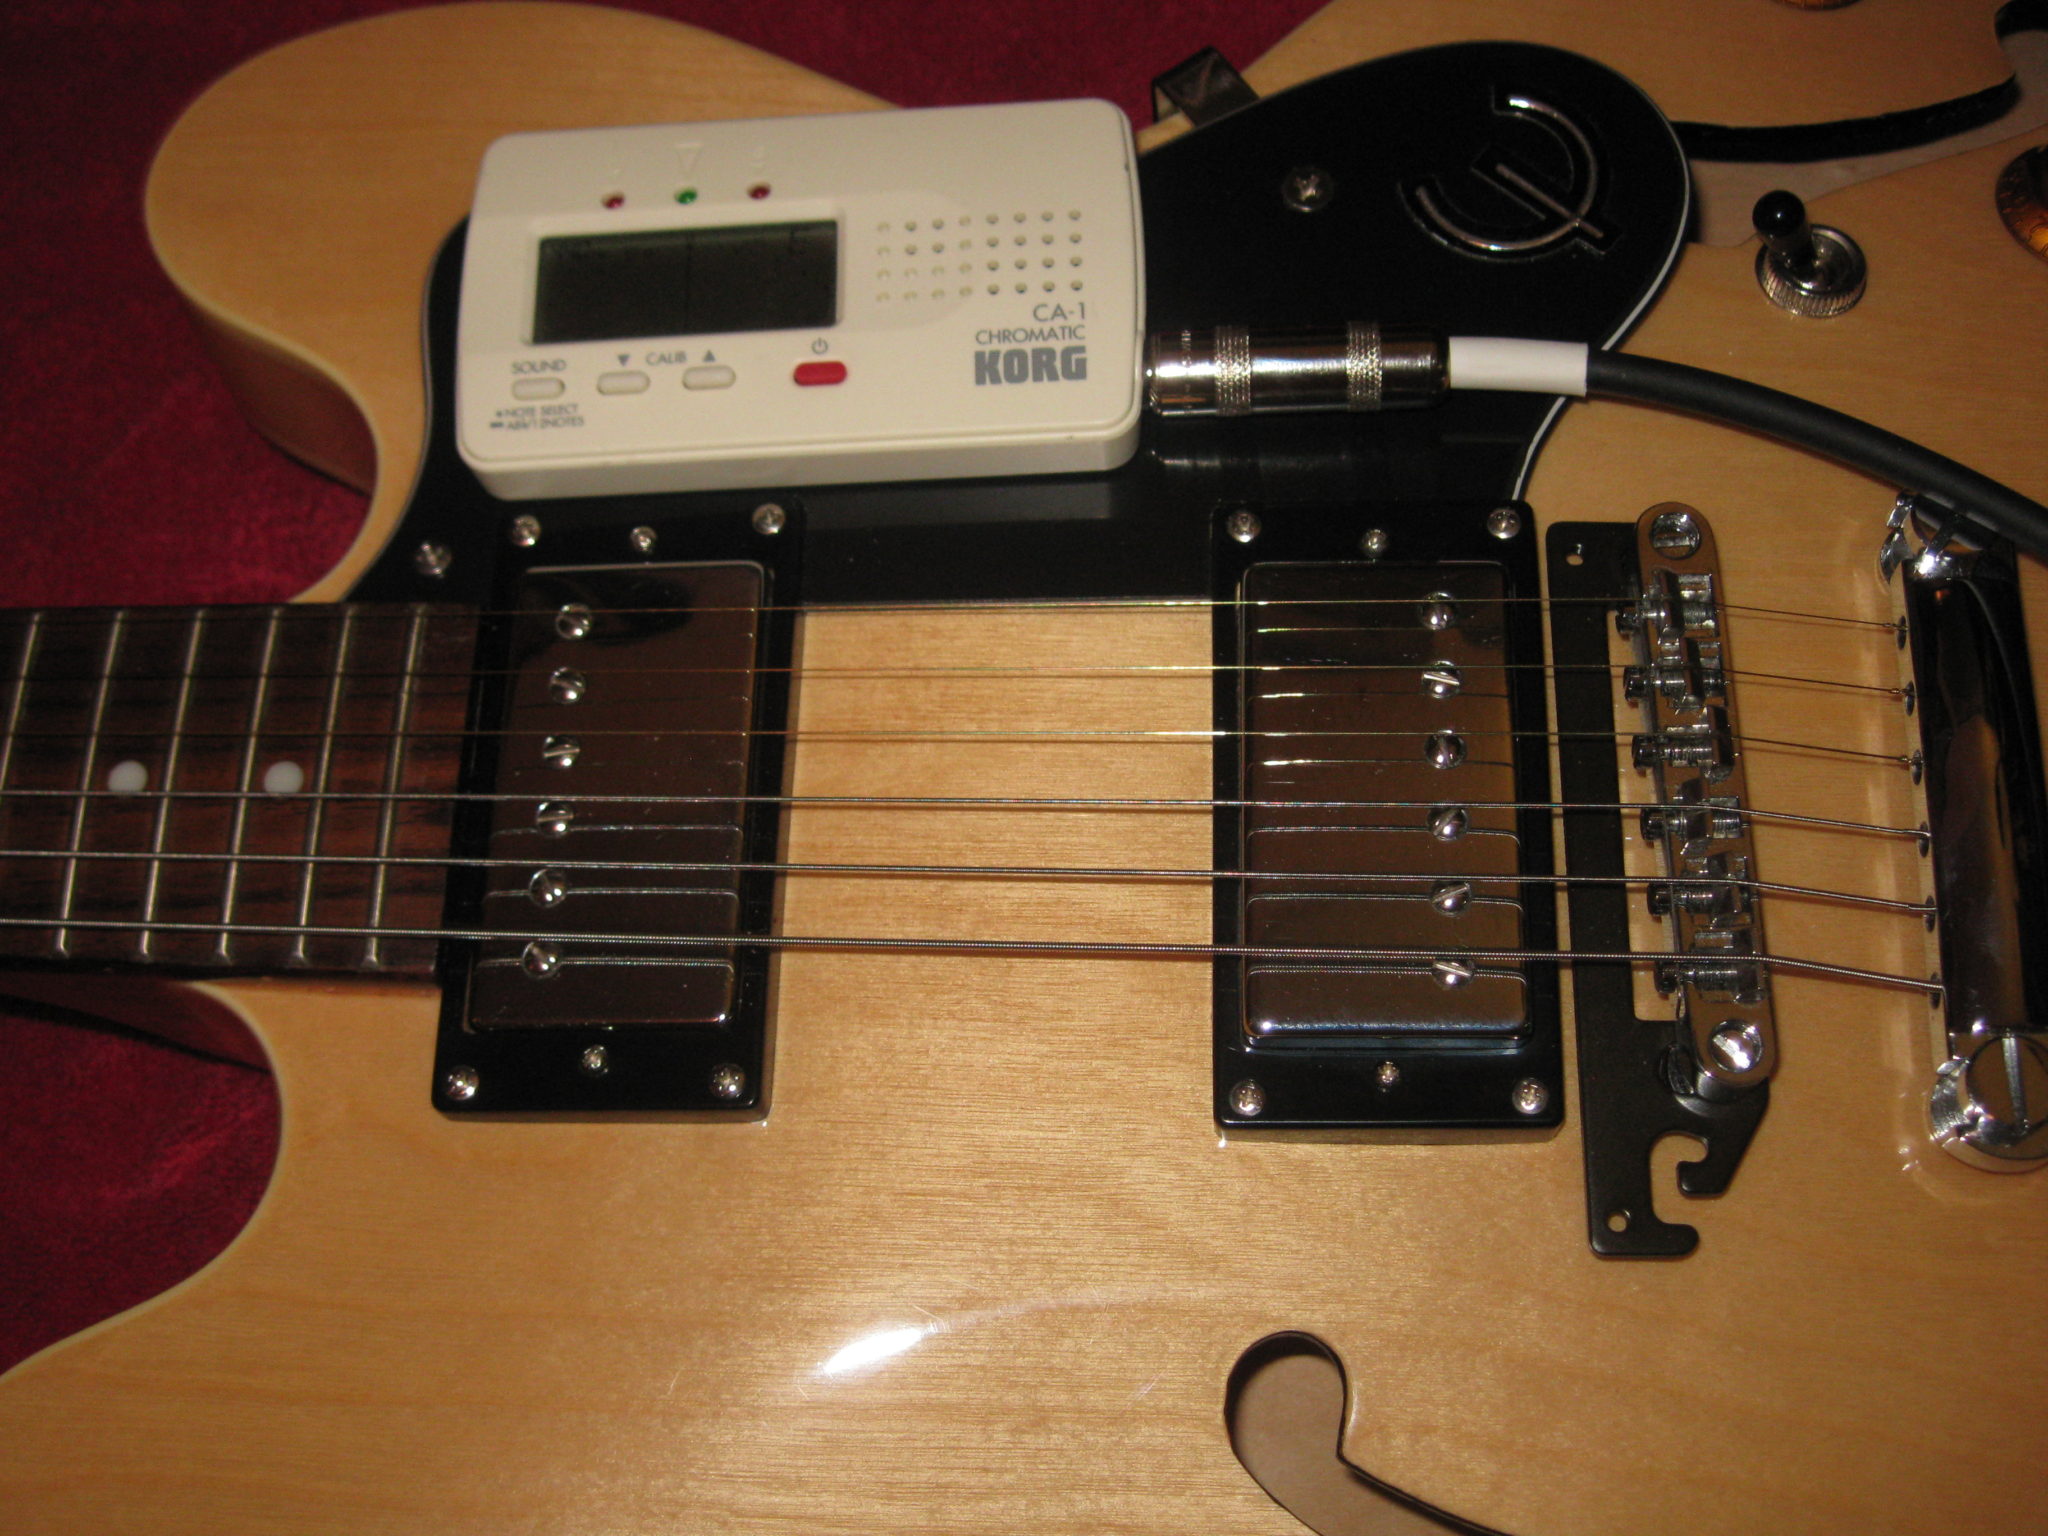
Step 6: Tune the guitar.

Step 7: Install the GK-3 pickup onto the bracket
- Loosen all of the strings so that you can pull the bridge off of the posts.
- Remove the controller bracket.
- Install the GK-3 pickup onto the bracket with the appropriate rubber sheets and/or rubber tubes according to the guidelines in the manual to achieve the specified 1.0 mm gap between each string and the six individual GK-3 pickups. This is CRITICAL. You may need to install the pickup/bracket and bridge and tighten/tune the strings several times to achieve the proper spacing.
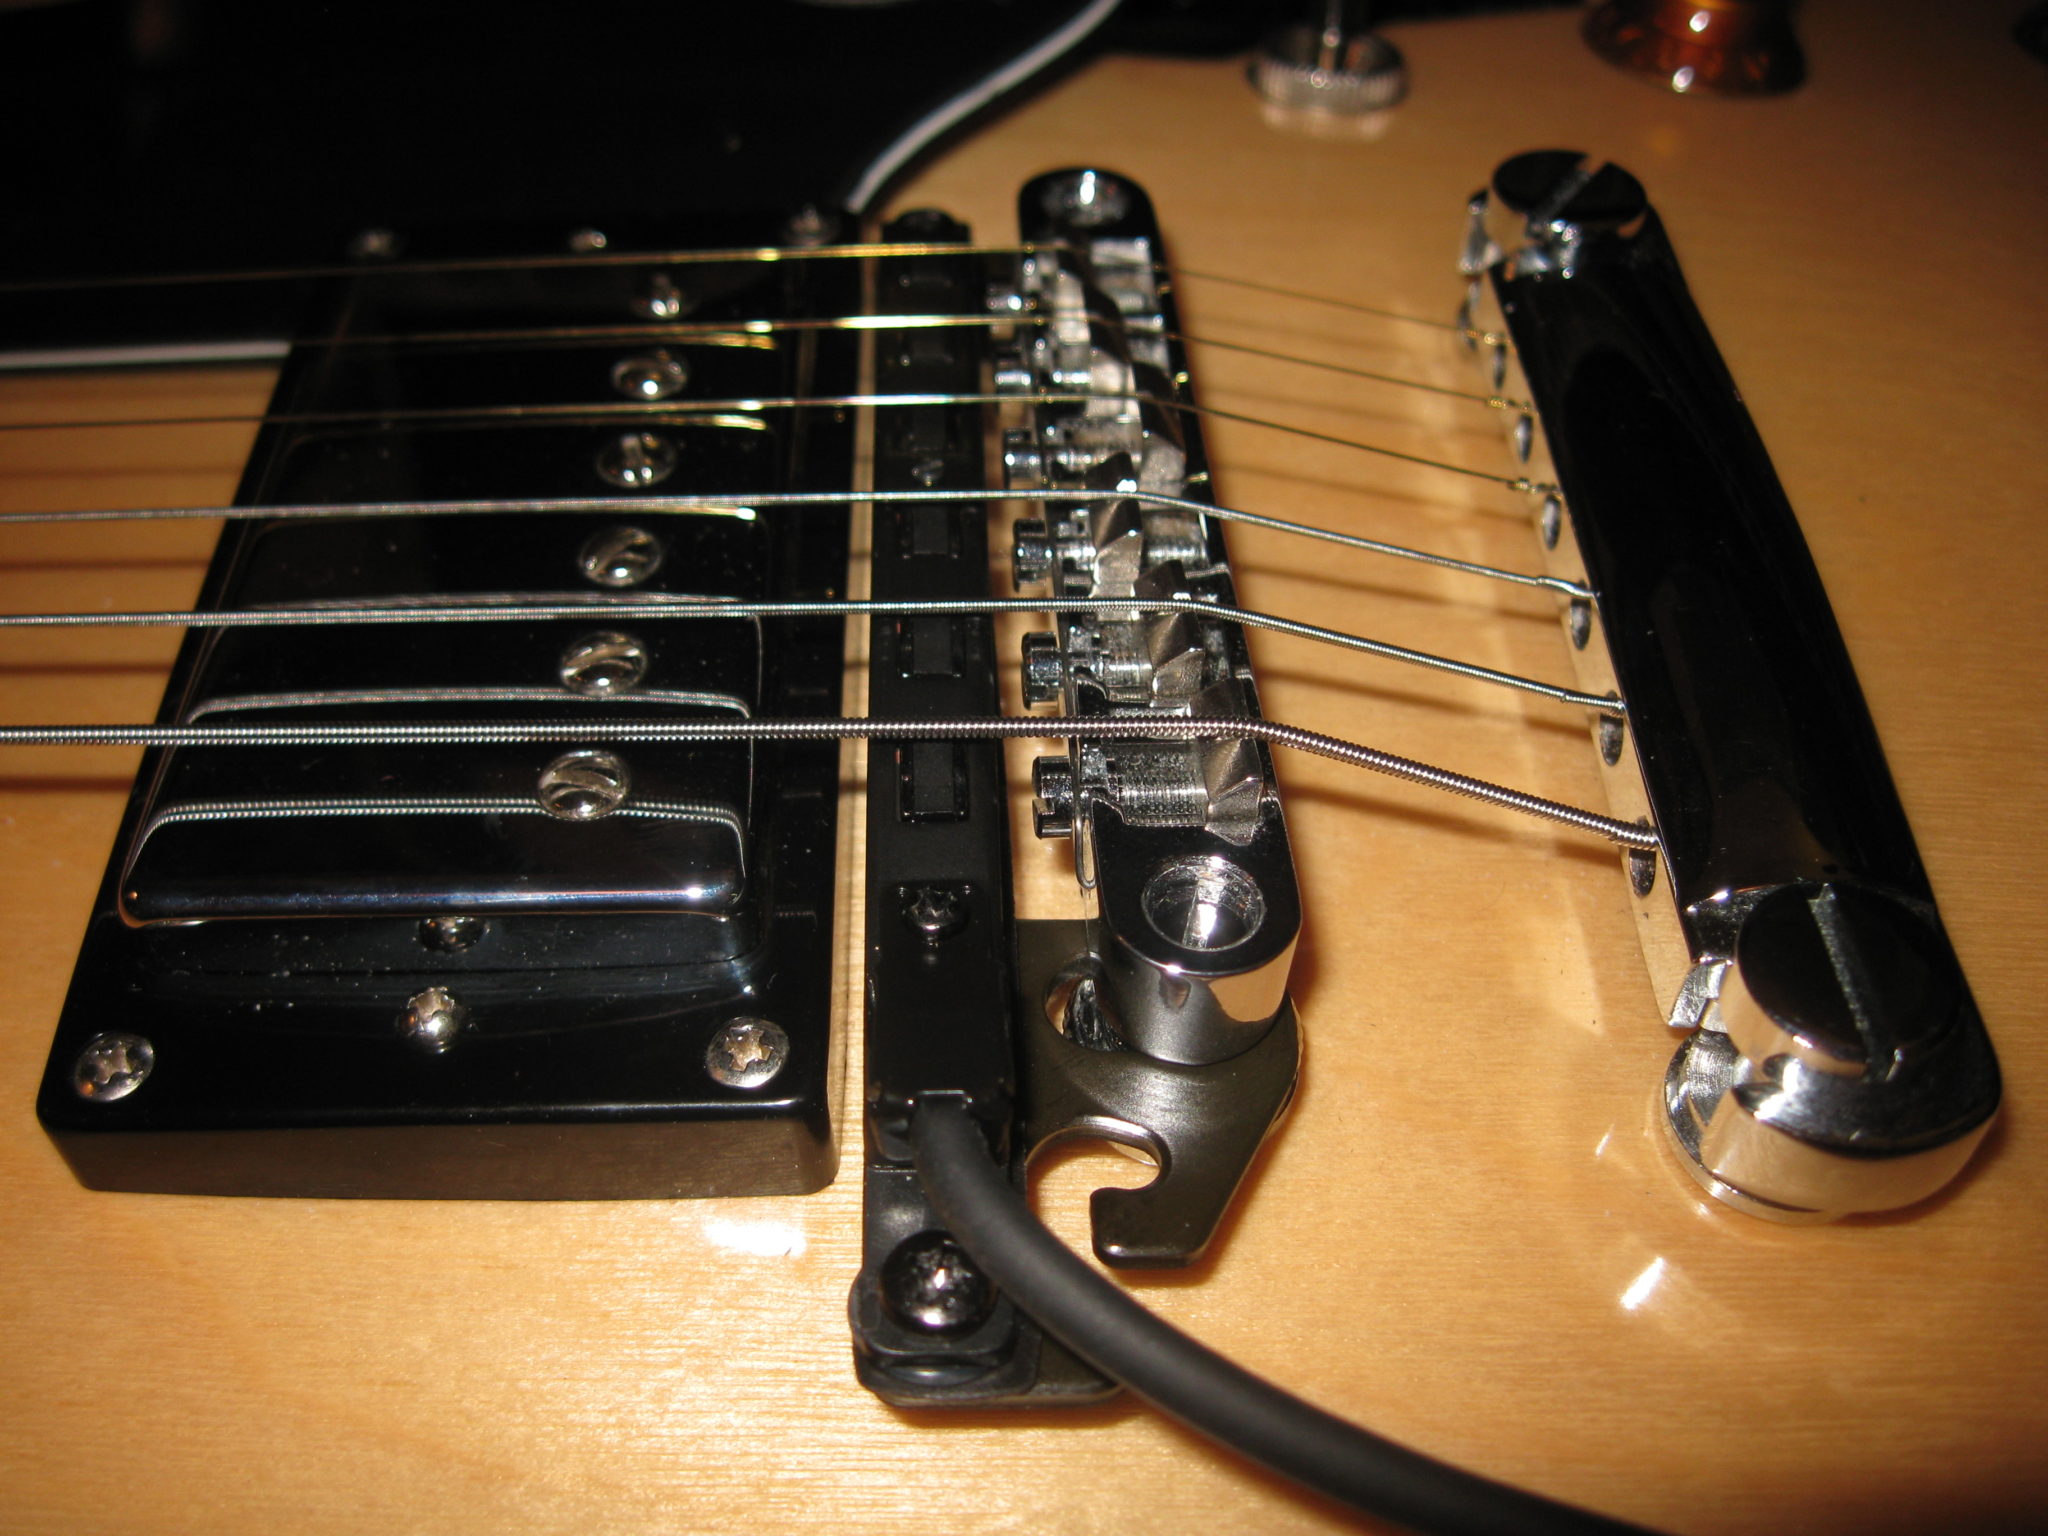
The following notes appear in the owner’s manual regarding how to use the little rubber shims and tubes to get the pickup height just right. This is crucial.
- The pickup height should be adjusted so that the distance between the pickup and the strings is about 1.0 mm (0.04″) when the highest frets on the first and sixth strings are fingered. Check the height using the supplied clearance gauge (1.0 mm).
- If the pickup ends up being too low, use two rubber sheets layered together.
- But if the pickup still sits too low even after layering the two rubber sheets, then use the rubber tubes.
- Here is a picture of the bracket with the pickup screwed to it now, with little rubber tubes to allow height adjustability. (It took me several runs of trial and error to get the height adjusted correctly, so be patient!)

Step 8: Attach the Controller Unit (with Holder)

Assemble the controller according to the instructions and slip the holder over the loosened end pin. Attach the bottom bracket (holder “B”) so that the guitar body is sandwiched between the two holders and tighten both brackets so the guitar is sandwiched between the two. Note it may be necessary to insert the supplied foam cushion between the bracket and the guitar due to sloping of the guitar.
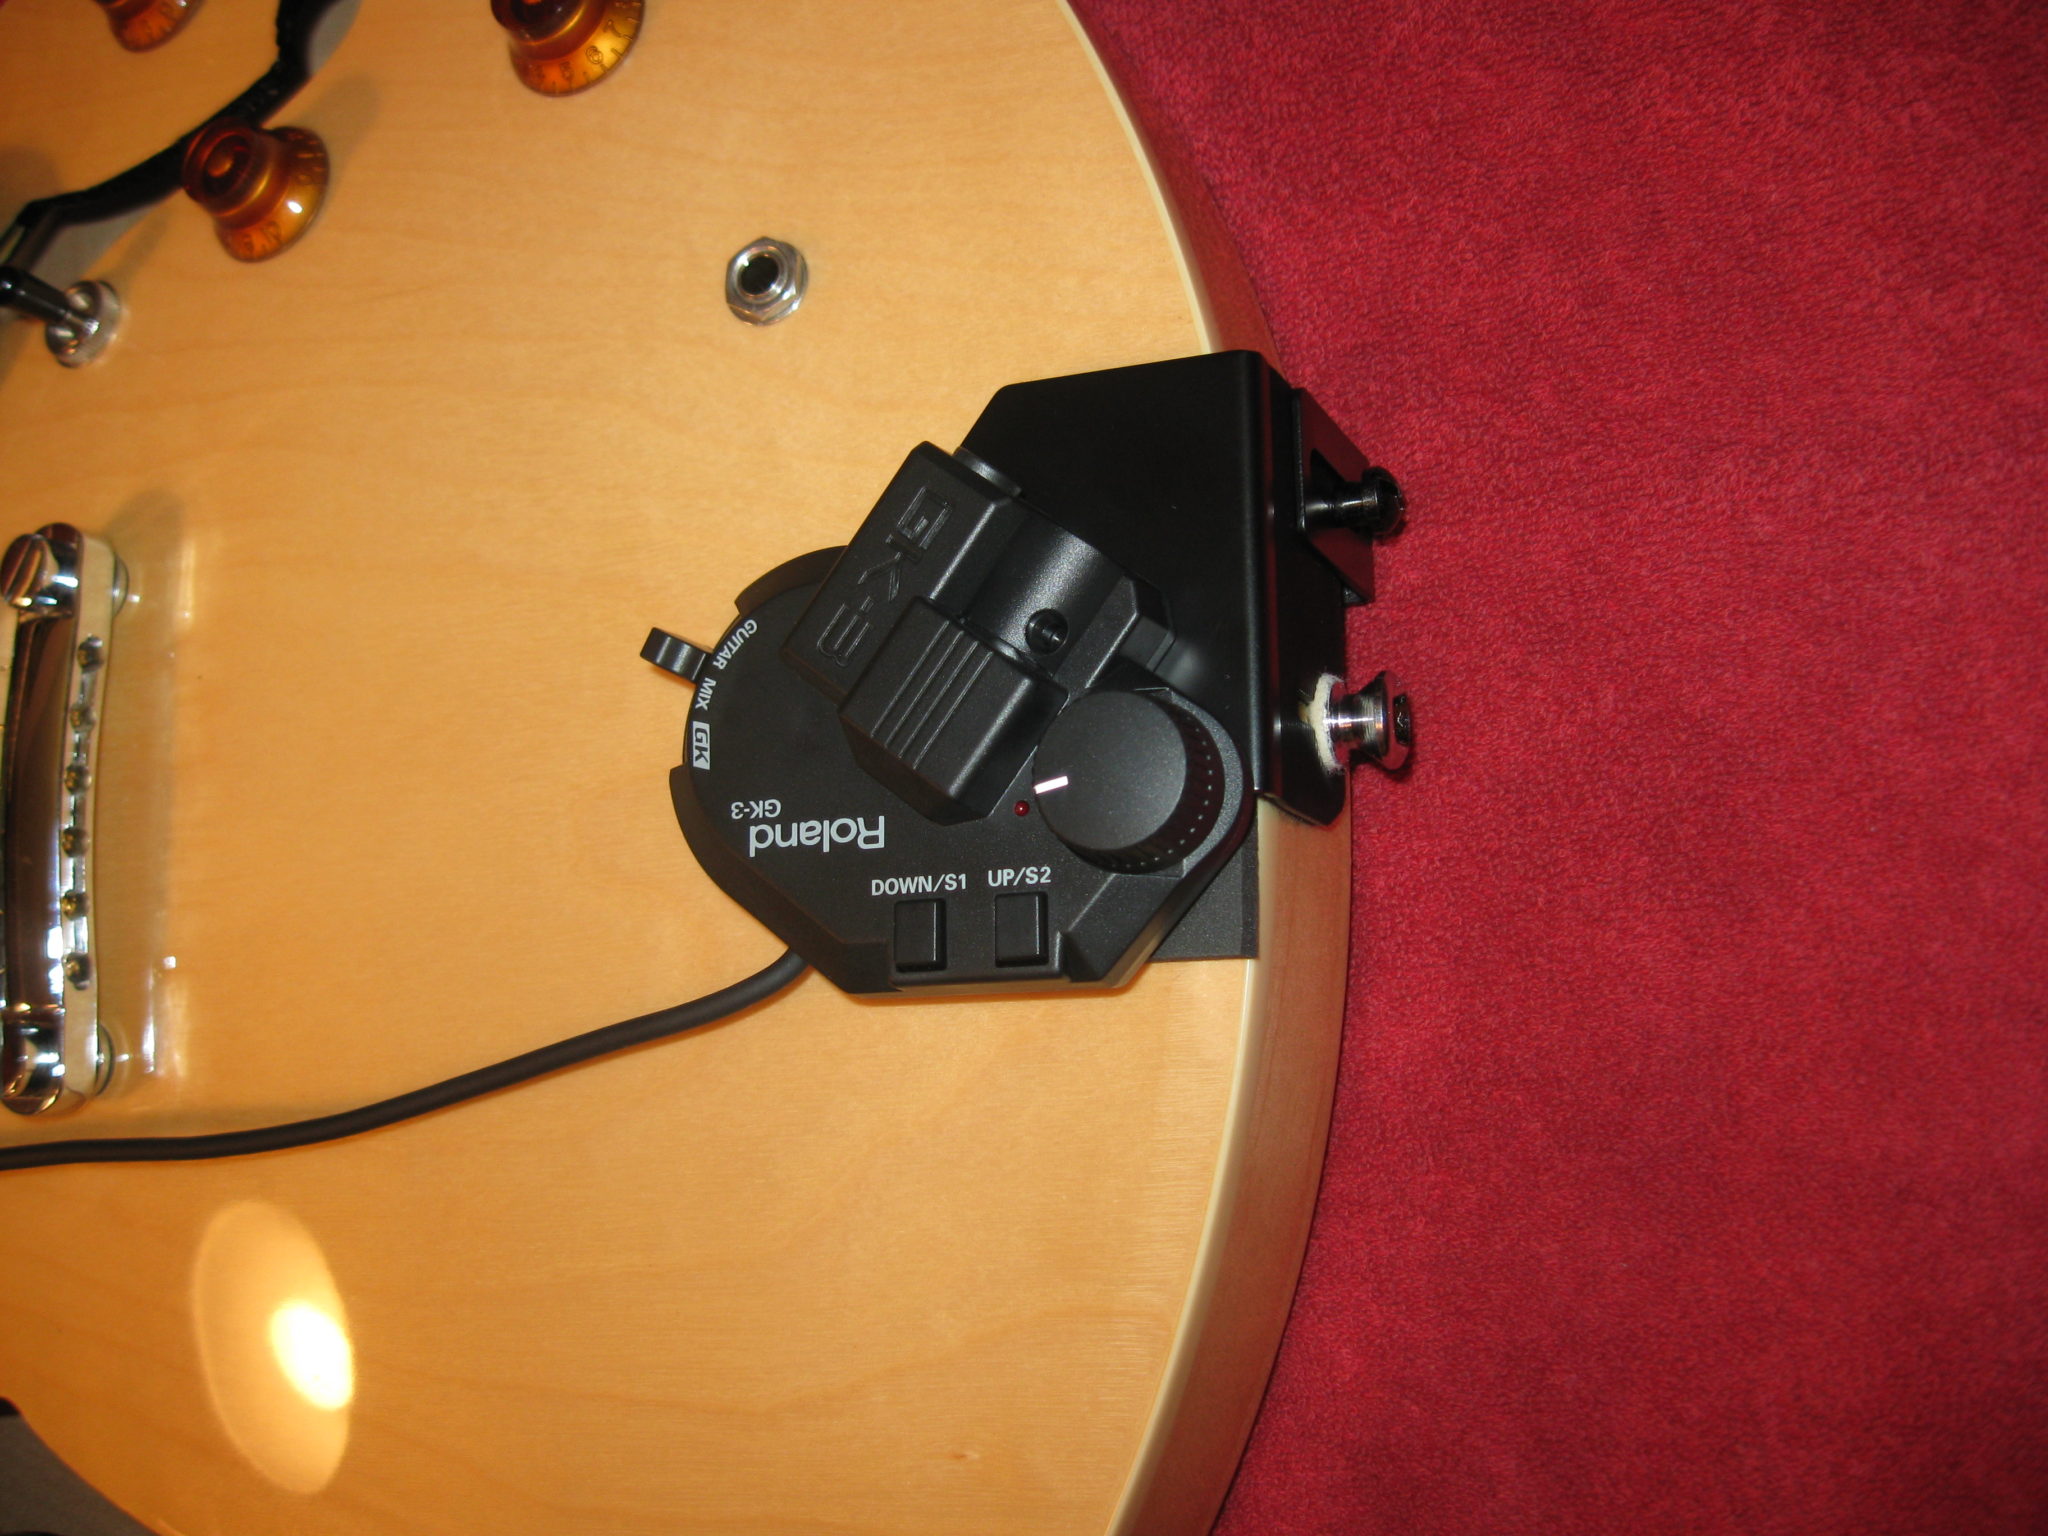
Be sure to attach the 1/4″ short cable to the GK-3 and guitar out jack.

Completed Installation
I hope this is helpful to you and that you thoroughly enjoy your Roland GK-3 Divided Pickup.
Here is a tune I recorded using the Roland GR-55 for the cello portion and along with a mic’d ukulele. Or Click here to check out my music!


I found this article looking for a solution to my problem which is I’m trying to install my GK-3 on an Ibanez AS93 – supposedly similar to an ES-335. The cable for the pickup appears too short but perhaps I’m not eyeballing just right. Could you neasure the distance from the guitar bottom to the bridge pins so I can see if your install will work for me?
Thanks!!!
It is 9 inches from the bottom edge of the guitar to the center of the bridge saddles.
I have mounted the GK3 next to the pickguard on my Epi Sheriton, secured with a nylon T bracket inside the f-hole. The GK3 is in reverse direction so the connecting wire avoids the wrath of my picking hand and neatly slinks under the pickguard . There is a system setting on my GP10 for reversing the pickup poles, so easy. I have the GK3 at my fingertips – even stuck a pretty decal on the unit to hide it from front view. Have done 1 year of live gigs and no problems with this mount.
Very cool. Share a picture with us!
Would love a photo! Will be mounting GK3 on my Epi Swingster soon.